Are you the kind of person who likes to DIY your home renovations? Are you thinking about laying ceramic tile yourself? We're here to help! We've created a simple checklist and overview of how to install tile.
Our goal is to make our bespoke tile process as simple as possible. That being said, our tile is an investment that will last for years to come. Know that every tile installation is unique and requires a variety of additional techniques and knowledge that we won't be able to cover in this 101. If you're unsure about your ability to lay ceramic tile, we recommend learning the steps and hiring a contractor. We want you to be 100% in love with your finished project and a detailed installation is key.
Whether you choose to DIY it or hire a contractor, knowing the process will be extremely helpful throughout your project. From planning your project to understanding just what your contractor is up to, learning more is always a good idea!
Tools:
- Tape Measure
- Level
- Safety Glasses (wear throughout entire process)
- Latex Gloves
- Rubber Grout Float
- Notched Trowel
- Painter's Tape
- Shop Towels or heavy duty paper towels and or rags/old t-shirts
- Buckets
- Tile Sponge
- Marker
- Wetsaw
- Knee Pads (for floor tile)
- Ear Protection (for tile cutter/saw)
- Drill with a paddle or a strong mixing paddle
- Caulking gun
- Sanding stone for smoothing cuts
- Tongue depressor or fettling knife for detailing grout
Materials:
- Tile
- Adhesive or a Thin-Set Mortar
- Sanded Grout & Tile Sealer
- Flexible Caulk
Step 1: Preparing for Layout.
Careful planning and a detailed eye are critical to tile install. Once you receive your tile, inspect all of the pieces and lay them out on the ground in front of their installation spot. Confirm that measurements are correct and you are happy with the organization of the tile variation. Do a dry layout by placing your tile out on the floor prior to installation. Make sure you have 10% extra tile for any mistakes throughout the process. *If you are using our Moroccan Fish Scale Tiles, these require 20% extra tile.
Most of our tile comes on a mesh backing, making the layout prep a breeze! However our Subway Tile comes loose. We recommend using 1/8" spacers, and following these additional layout directions:
All tile boxes should be opened and sorted before beginning installation. Make stacks of 5-10 tiles. Irregularly shaped tiles will stand out when stacked. Some arching and/or cupping is normal with handmade tile, but tiles with too much bend can be pulled and used for cut pieces. Watch for funky corners. Use these for cuts or where they will blend in. When tiling around electrical boxes, use the flattest tiles to ensure that the cover plate will lie smoothly on the wall.
Use stacks to sort tiles according to size. Each tile is hand cut from clay so sizes will vary. Turn each stack on edge and sort by narrow, medium, and wider sizes. After sorting into these groups, check the length by turning them on end and sorting accordingly. (e.g. “narrow-short”, “narrow-long”, “med. short”, “med. long”, etc.). This will help later with vertical grout line alignment.
Use similar height tiles in each row so that your horizontal grout lines between rows will be relatively uniform. The narrowest ones go in one row, medium widths in another row, and the widest/tallest ones in other rows. Don’t mix sizes in the same row.
When installing numerous rows of subway tile, be aware of the varied tile lengths, too, so that your staggered vertical grout lines will stay reasonably aligned as you progress up the wall. For grid style layouts, you will want to match tile dimensions horizontally, and then vertically on the next row up, too, so that grout lines in both directions are relatively even.

Step 2: Laying Tile.
A. Mixing Mortar
Mix your mortar as directed on packaging, using a drill with a paddle or a strong mixing paddle. Mortar dries quickly, mix a smaller amount to start, from there you will determine how much you should make at a time based on your pace.
B. Applying Mortar
Starting from the middle of your installation, apply approximately 3 square feet of mortar with the flat side of the trowel. Comb the mortar by holding the trowel at a 45 degree angle, creating textured straight lines throughout. 
C. Placing Tile
Gently press sheets of tile into the mortar, twisting slightly to set. Continue placing tile, following your dry layout on the ground. Throughout this process use your level to confirm that everything is straight and tidy.
D. Cutting Tile
When you get close to an edge, use your ruler and marker to draw a line to cut your tile. Only cut your tile when you get close to an edge as slight variations in placement could effect the precision of your original layout. When using a wet saw use a sharp blade for precise cuts and to prevent chipping of the tile or glaze. If a cut edge will be visible, use a sanding stone to smooth the edge prior to installation.

Step 3: Pre-Seal Tile
We recommend pre-sealing all Mercury Mosaics tile. We have experience with 511 Impregnator Sealer, however a similar clear penetrating sealer achieving similar results will work. By pre-sealing, you prevent the grout from absorbing into the tile, which can impact the finished look of the installation. In order for the sealer to be effective, apply over clean tile a minimum of 24 hours prior to grouting. This step is absolutely worth the extra time.

Step 4: Grout
A. Preparing Grout.
Before you grout, make sure that your tile adhesive and sealant have had at least 24 hours to dry. Mix your sanded grout as instructed on the package, grab your sponge, and fill up a bucket with water.
Once mixed, slaking (allowing the grout to sit 5-10 minutes and remixing before use) gives the liquid time to thoroughly penetrate the dry material, and allows the grout to form strong chemical bonds that increase durability. Do not add more liquid to grout that is becoming too dry to use. Discard and make another batch instead. Only make enough grout to last 20-30 minutes. You will thank us later.

B. Grouting.
Add grout and work into every nook and cranny with your rubber trowel. Sweep in circular motions, check to make sure there are no pockets or air bubbles. Before the grout dries you'll need to wipe off the excess sitting on top of the tile - if it dries it's difficult to remove. You'll be using your bucket and sponge a lot! Wipe with a damp (not wet) sponge at least three times before the grout dries.
When sponging off the excess grout, watch for humps and furrows along the grout lines, especially where tiles cup inward or outward. Fill and shape the grout lines as needed to make them appear smooth and even. Be sure to rinse/wring out your sponge frequently, and change your rinse water often. After final “clean water” sponge wipe, allow area to dry. Then buff with a DRY cloth to remove any remaining haze.
Use a tongue depressor or fettling knife to clean and remove excess grout. These hand tools come in handy for small areas - essentially, their job is to remove grout from areas where it doesn't belong. Use matching caulk where tile meets any other material, like counter tops, cabinets, wood trim, sheetrock, etc. Proper grouting is always important, but it’s crucial with handmade tile.

4. Final Seal
Once the grout has dried, dry buff the tile one last time to remove any excess debris. Allow your grout to cure for 72 hours before sealing again (you can use the same sealer as before). This round of sealant is to protect the grout from spills and discoloration.
Final Floors:
Treat your handmade tile with care so you are happy with the finished project for years to come. Here's a blog to help you maintain your beautiful ceramic tile. If you liked this how-to but want the full version, download our Tile Installation Guide.

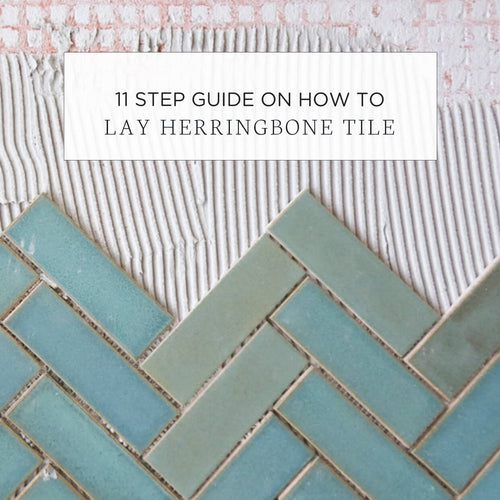
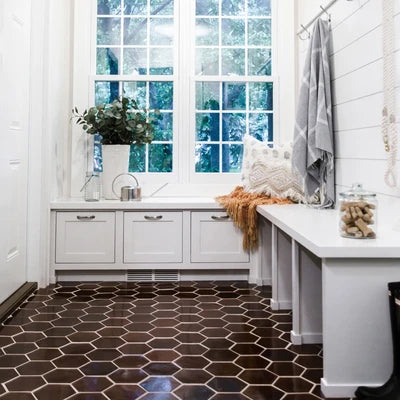
2″x6″ Subway Tile – Herringbone Pattern – 913 Old Copper

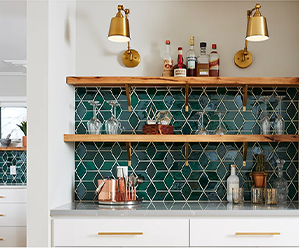
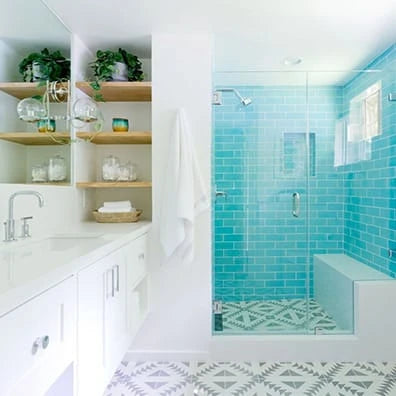
Large Diamonds - Star Pattern - 130 White, 815W Light Grey, outer trim in various Subway Tiles in 39 London Fog.
Order tile samples to see, touch, and fall in love with our handmade tiles in person. We would also love to hear what inspires you! Tell us more about your future project and get the ball rolling.
The post How to Install Ceramic Tile 101 appeared first on Artisan Tile Company: Handmade Ceramic Tiles by Mercury Mosaics.


