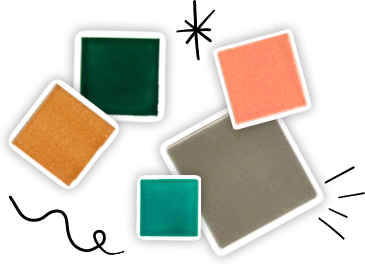
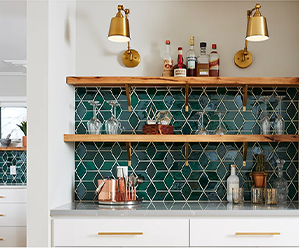
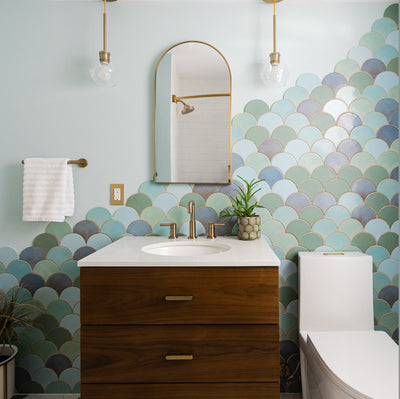
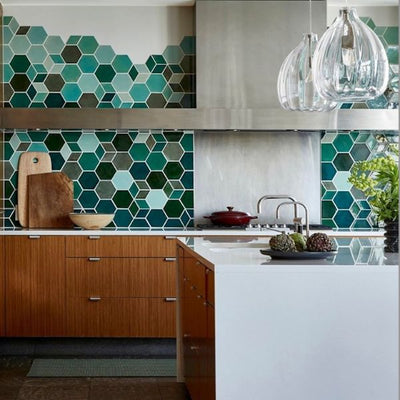
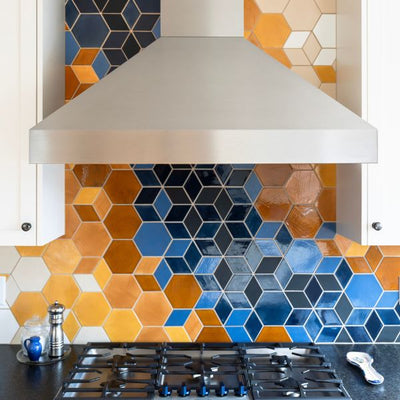
Handmade tile comes with many perfect imperfections. We cut, glaze, and fire every tile by hand so it only makes sense that each one is slightly different from the next. You’ll get brush strokes, variation in color, slight differences in size, and a whole lot of added character to your space. These nuances to handmade, artisan tile are what make them special but it also comes with an extra need for care when installing. Here are 4 tips to guide you through your install and give you an understanding of what you can expect from our perfectly imperfect handmade tile…
Glaze Testing
Before we get into the nitty gritty of installing, we want to tell you a little about the why behind the imperfections of handmade tile. Our Care team has glaze testing down to a science. They evaluate everything from how much glaze is applied to how the tile is fired and take close note of the variation and surface effects that occur. There are three levels of testing; after each test the glaze is evaluated, and a decision is made to either progress the glaze to the next test or discard it.
Level 1 (Pictured below): This initial testing is performed to get a general sense of what a glaze looks like on all three of our clay bodies, glazed with a thin, average, and thick application.
Level 2: After this point, the glaze has been proven to produce pleasing results, and does not have any obvious defects. Level 2 testing demonstrates the breadth of results possible for the glaze when it goes through our firing processes.
Level 3: Once a glaze has made it to Level 3 testing, it has been proven to be easy to apply, to work in our production kilns, and is a color that Creative would like to have on our color palette. This level of testing examines how the glaze performs in a full large-scale production firing.
During this thorough testing, we find out all that our magical glazes have to offer and what sort of variation range we can expect. After going into our tile oven, the tiles take on a life of their own and morph into the perfectly unique specimens that we love so dearly.
To see which glazes are tried and true, visit our Color Palette.

1. Inspect the Tile
Now that you have a better understanding about why our perfectly unique tiles are the way they are, we'd like to fill you in on a few tricks to installing handmade tile. First, we always recommend inspecting the tile. To a certain extent, the way our tile is glazed and fired, each one can be slightly different in appearance. Or if your order includes a high variation glaze, you can expect a beautiful range of tones. This is one of the reasons we recommend ordering a small overage of tile for your project. Go through your tile and closely inspect all the beautiful irregularities that handmade tile has to offer. Depending on the tile you choose, you'll see brushstrokes, slight differences in size, a variation in hue, and even a few traces of artisan finger marks here and there. While some people find the extra character charming, certain tiles may not fit your vibe. Pick out the ones that don't and set them aside!
For more on handmade variation, visit our blog "A Complete Guide to Handmade Tile Variation"
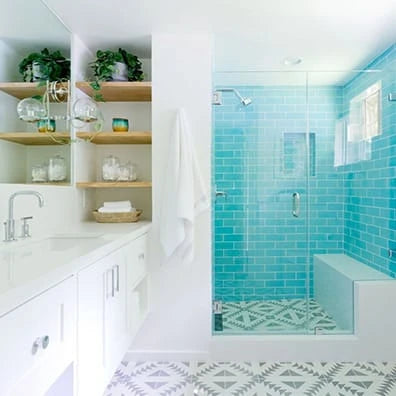
 3"x8" Subway Tile, - 23 Sapphire Blue.
Photography - Pencil Shavings Studio.
2. Dry Layout with Sheets
Now that you have your most desirable pile of tiles, the next tip and crucial step on our list is a dry layout. Lay out your sheets on the ground or counter exactly how they'll be installed. Since we know that handmade tile can differ in variation of hues and sizing, this step is where you can arrange the sheets accordingly. We suggest arranging more varied sheets in a random fashion and places sheets of similar sizes next to each other.
For a complete guide on installing handmade tile, read our Handmade Tile Installation Guide
 Small Hexagons in Flower Pattern - 45R My Blue Heaven, 130 White, 23 Sapphire Blue.
Photography - Pencil Shavings Studio.
3. Dry Layout with Subway Tile
We want to stress the importance of a dry layout so much so that our second and third install tips are almost the same. However, this tip applies only to installing Subway tile and Field tile. One imperfect perfection of handmade tile is that there's also a small variation in sizing. This adds to the overall character and charm of the product but because of this, we recommend sorting your Subway tile into stacks that are the same sizes. Here's the rundown:
Staggered
- Unpack your tile into manageable sized stacks and make stacks of 5-10 tiles.
- Turn stacks on edge and sort by narrow, medium and wider sizes.
- After sorting into these groups, check the length by turning the stacks on end and sort by narrow short, narrow long, medium short, medium long, etc.
- When staging rows for install, use similar height tiles for each row. Narrow tiles will go in one, medium tiles will go in the next, etc.
- Keep in mind the varied lengths, too. Be sure to have your vertical grout lines consistent as well as your horizontal grout lines straight.
Stacked (Pictured Below)
- Unpack your tile into manageable sized stacks and turn them upright to see the length of each tile
- Remove tiles that appear to be the same length and make piles for each size
- Measure each organized stack and mark down the length
- When staging your rows for install, use only tiles that are the same length for each stacked row
We promise this step will save you so much time when it comes to installing!
 3"x8" Subway Tile, - 23 Sapphire Blue.
Photography - Pencil Shavings Studio.
4. Adhere Row By Row
While grids are used to layout the tile onto mesh, and each of our layout artisans work hard to ensure the best fit, they cannot foresee which sheets will be conjoined during install. That's why we recommend starting with a dry layout and working row by row to adhere your tile. When installing, there's a chance the sheets will need slight modifications. If you are installing a sheet next to others and it doesn't interlock how you imagine it would, take a box cutter and carefully cut around the tiles you would like to move. Make sure you are cutting through the entirety of the mesh. Be careful when cutting not to chip the edges of nearby tiles with the boxcutter blade!
For more tips from our very own innovation administrator, visit our blog "10 Essential Tips for a DIY Handmade Tile Installation"
 3"x8" Subway Tile, - 23 Sapphire Blue. Small Hexagons in Flower Pattern - 45R My Blue Heaven, 130 White, 23 Sapphire Blue.
Photography - Pencil Shavings Studio.
Order tile samples to see, touch, and fall in love with our handmade tiles in person. We would also love to hear what inspires you! Tell us more about your future project and get the ball rolling.
The post The Perfection of the Imperfection of Handmade Tile appeared first on Artisan Tile Company: Handmade Ceramic Tiles by Mercury Mosaics.


