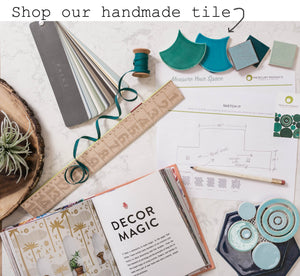
Hi there, I'm Anna and I'm an employee at Mercury Mosaics! While working in our NE Minneapolis Factory I fell in love with the variation, detail, and beauty of handmade ceramic tile so using our product for my entryway remodel was a dream come true. Since this year has come with more time spent at home than ever, my partner and I set out to tackle a few house projects. First up on the list was our entry way. While he worked on stripping the space to the studs, I set my sights on the endless tile possibilities that Mercury Mosaics has to offer. However, the difficult choice came next: what kind of tile do we want?
Watch the video below to see the magic I'm surrounded by every day I work at the studio:
1. Think About Your Overall Goal
To narrow my search, I looked through some of the blogs on the website and came across “Behind the Tile with Mercedes,” where our mover and shaker, Mercedes shares her expert advice on choosing tile.
- Have a sense of an overall goal for your space.
- Decide what three things are the big focus and work from there.
This mindset made choosing tile so much easier. We decided we wanted the entryway to blend what we imaged the original entry way may have looked like, with an eclectic industrial feel. As far as the three main focuses, my partner, Forrest Zoll, who excels in woodworking and carpentry, would be making a bench and cubby storage for the room, so that was the first focal point. The second focal point would be a piece of stained glass my grandmother gifted us. And lastly, we decided the tile should not only enhance the rest of the room, but also be a focal point. I know some people wouldn’t choose tile to be one of their main three focal points, but with tile as artful and beautiful as that made at Mercury Mosaics, we knew that we wanted to treat it as a piece of functional art.
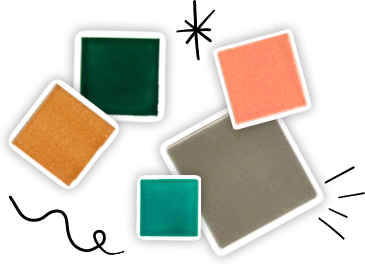
2. Order Samples
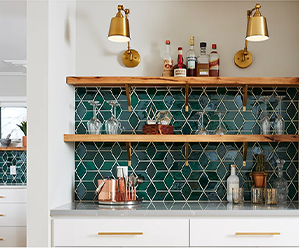
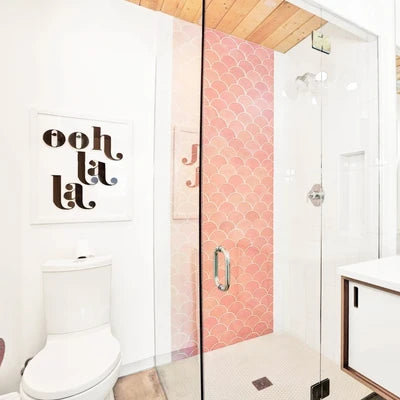
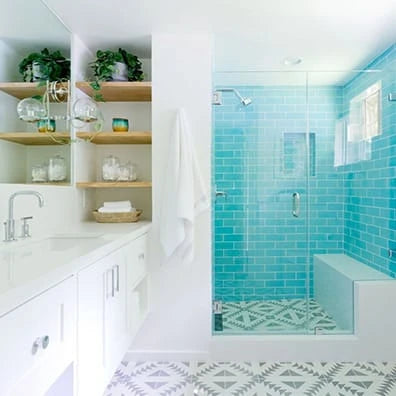
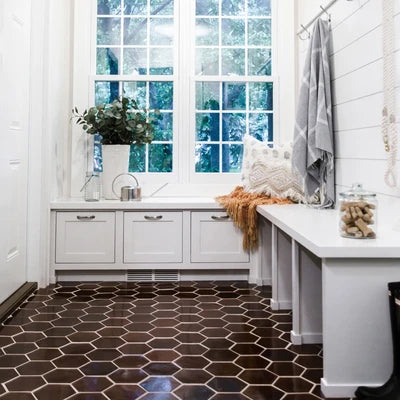
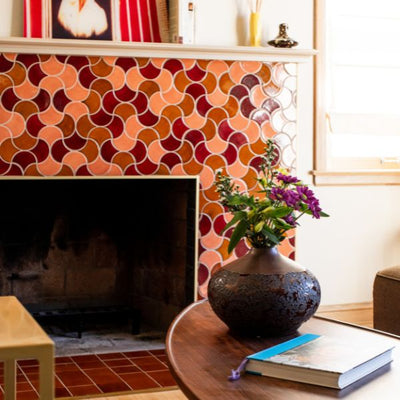
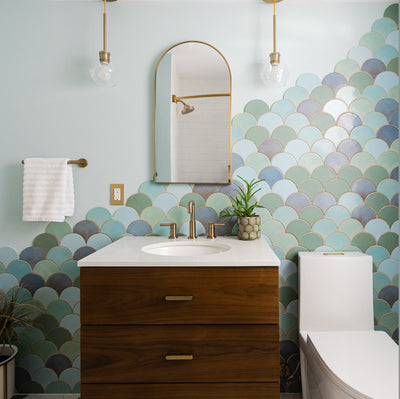
The next decision was what size of hexagons and what glaze. I had initially thought that Large Hexagons in Vermont Pine would be perfect, but after bringing samples home, I realized that the entryway didn't get enough natural light to really let Vermont Pine shine. It’s important to get samples to see how the tile will look in your space. Factors such as lighting, other colors in the room, and size of the room will affect the way that tile looks in the space. In the end we chose Small Hexagons in 123R Patina because the color is gorgeous, the potential for variation was high, and the color seemed like it could have come straight out of the 1910’s, while not feeling old fashioned. One of the things I love about Mercury Mosaics tile, is that it can evoke a vintage feel, but it never feels outdated.

3. Triple Measure Your Space
After the tile selection was made, we measured the square footage of the room. Now, I’ve measured square footage at work before and never had a problem, but somehow even after measuring the room twice, I came up with a number that ended up being way off. Even if you are a mathematics pro, I would recommend double, triple checking your measurements and your math. So, save your future self some time, money, and hassle, and make sure you have correctly measured the square footage of your room. Check out our blogs How to Measure Your Kitchen Backsplash or How to Calculate Tile Needed for Your Bathroom for help with measuring square footage!
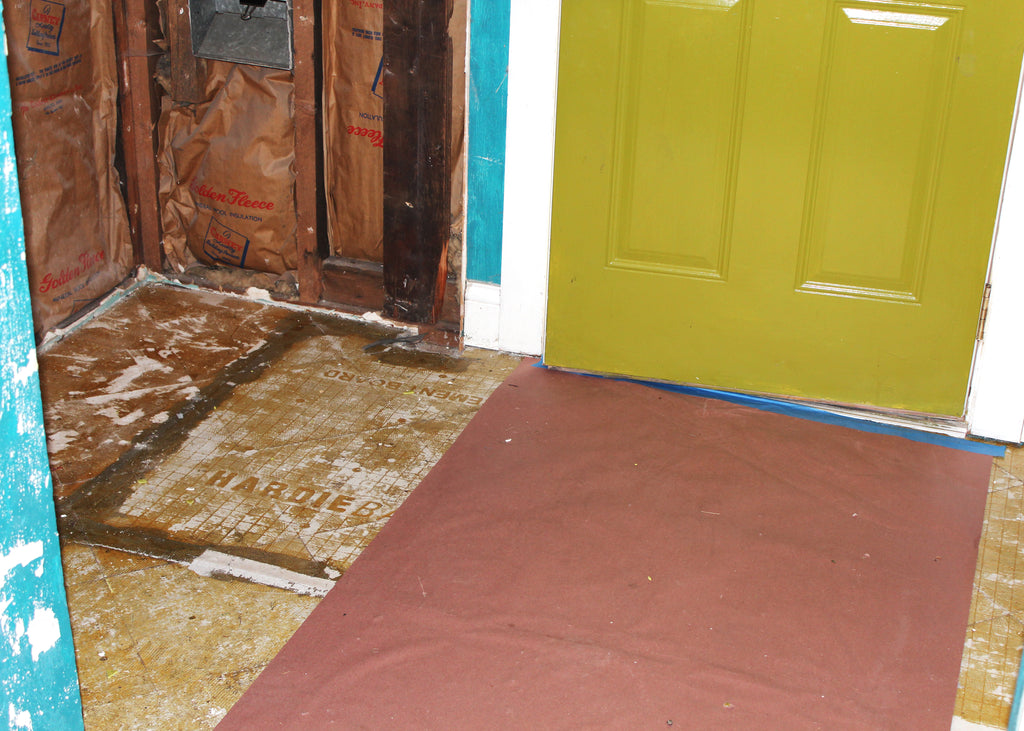
4. Prep the Floor
Next came preparation of the floor. We removed the linoleum tile and found subflooring, which we also removed. Underneath that we found a surprise, more tiles! After removing these, we took the floor down to the joists and installed a wood subfloor. On top of the wood subfloor we attached concrete board, which is what we were going to install the tiles on. When installing tile onto a floor, it is important to have a strong, solid base to keep everything from shifting around. Concrete board works perfectly for this.
5. Gather Your Materials
Before starting any installation, make sure you have all the materials you need. At the very least you will need:
- Tile
- Grout
- Adhesive
- Sealant
- Wet saw
- Grout float
- Notched trowel
- Buckets of water
- Sponges
- Shop towels
- Foam brush (for the sealant)
Before you plan to install your tile, read our Handmade Tile Installation Guide. Following the directions in this guide will ensure your tile installation goes smoothly.
6. Don't Forget a Dry Layout
The night before we planned to install, we did a dry layout. This step may seem insignificant but doing a dry layout will allow you to see what everything will look like once installed, and if there are any issues, a dry layout gives you time to problem-solve before the actual install. A dry layout is a vital step in handmade tile installation.

7. Adhere the Tile
The next morning, we got our adhesive ready (we chose thinset) and started installation! Make sure to follow the directions on the tile adhesive you choose. Since we were using thinset, we had to work in sections so the thinset didn’t dry before we were able to install the sheets. When laying down your adhesive, make sure you don’t lay it down too thick, otherwise it will seep up in between the tiles and stick out after grouting. If there is adhesive sticking up between the tiles after the adhesive has dried, you can try scraping it off. But we learned that it is much easier to remove the adhesive while it is still wet, so taking extra time to remove it before it dries will save you a lot of time in the long run!

8. Consider the Handmade Aspect
One aspect of installing tile that I was prepared for due to my work at Mercury Mosaics, but others may not be, is the slight variation in the size of tiles and the slight variation in sheet dimensions. Because each tile is made entirely by hand, and mounted on mesh by hand, sheets may not fit perfect together. This is an inherent part of handmade tile. While grids are used to layout the tile onto mesh, and each of our layout artisans work hard to ensure the best fit, they cannot foresee which sheets will be conjoined during install (we do offer custom layouts where the project is mesh mounted in its entirety before being cut into easy-to-install sheets; each sheet is labeled with its location that corresponds to an installation map). Sometimes the installer needs to slightly modify the sheets to ensure the best fit. If you are installing a sheet next to others and it does not interlock to your satisfaction, take a box cutter and carefully cut around the tiles you would like to move. Make sure you are cutting through the entirety of the mesh. Be careful when cutting not to chip the edges of nearby tiles with the boxcutter blade!


9. Seal Your Tile
After the tile was installed and the thinset had dried sufficiently we sealed the tile. Out of an overabundance of caution, I applied four coats of sealant. In hindsight, I could have easily gotten away with less, but an extra coat or two of sealant doesn’t hurt!
10. And finally, Grout!
Once the tile was sealed, it was time for grouting! This part is pretty messy, so be prepared. We prepared our area--putting down a drop cloth, laying out all the tools we were going to need, and putting on our PPE--and mixed the grout according to the instructions. Using a grout float, we plopped some globs of grout down and began working it into the grout lines. Like with installation, we started in a corner and worked our way out in sections. After working on a section we would let the grout sit for a little while, and then wiped the excess grout off with a clean, damp sponge. Once you get close to removing most of the grout haze, rinse out your sponge and make a single wipe over the tile, flip the sponge to the other side and repeat. We wiped until there was little to no grout haze remaining. Putting a little more work in at this stage will make the final cleaning and buffing stage much easier!

Top five things I learned during my DIY tile installation:
- Plan for the worst. Research similar projects other people have done on homes similar to yours. Figure out what issues they encountered, and how they solved them, as you may come across the same issues.
- Allot extra time for unforeseen issues.
- Double, triple check your measurements before you order your tile.
- Find available resources and use them!
- Use the right materials. Save ‘future you’ time, money, and hassle by doing it right the first time.


Order tile samples to see, touch, and fall in love with our handmade tiles in person. We would also love to hear what inspires you! Tell us more about your future project and get the ball rolling.
The post 10 Essential Steps For a DIY Handmade Tile Install appeared first on Artisan Tile Company: Handmade Ceramic Tiles by Mercury Mosaics.