When designer, Emily Pueringer, approached us to help transform her home office bathroom into a moody oasis with handmade tile, the answer was easy...sign us up! We are so excited to show off the full design process of this gorgeous ombré herringbone tiled floor from one of our favorite designers. Continue reading to learn more!
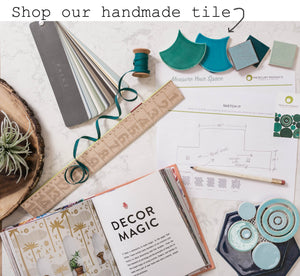
Start With a Mood Board
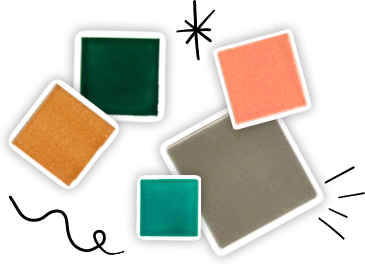
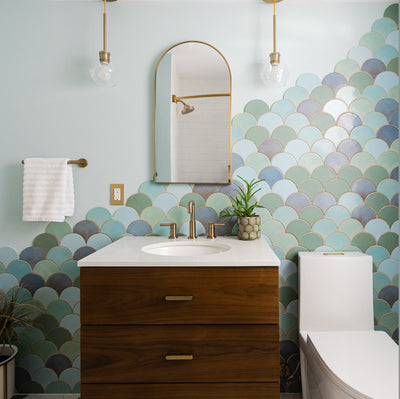
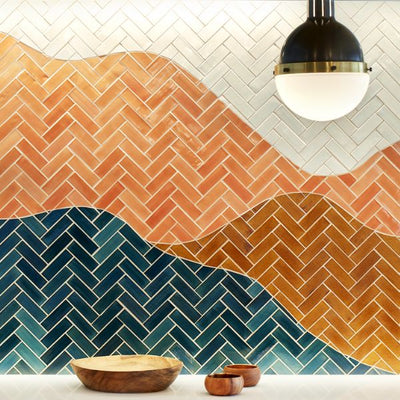
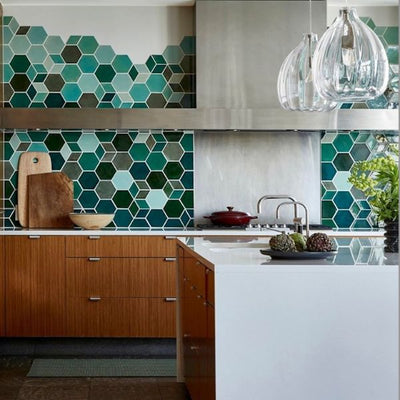
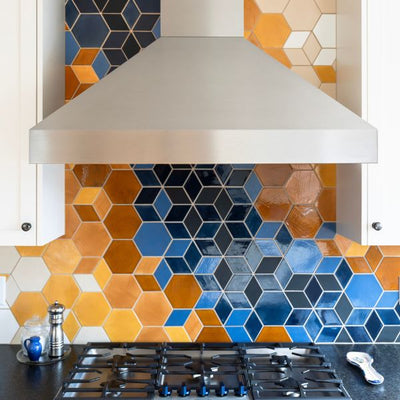
If you're interested in a custom tile project, we cannot wait to help you get started! To begin, we always recommend gathering inspiration for your tile project. Think about what textures and materials you gravitate towards, and start piecing the photos together to create a mood board. Find our color palette and tile shapes on our website and figure out which combinations fit the vibe of your space. When searching for inspiration, the interior designer of this project, Emily Pueringer, always suggests to "have fun exploring handmade lines, original shapes, your favorite colors, textures, pattern possibilities etc."
Not sure how to piece all your inspiration together? We're here to help! Our team of Design Consultants are master mood boarders and love to help narrow down the direction of your design. Schedule a virtual or phone design consultation to get the ball rolling! 
Designing your Tile Project
For this project, Emily was drawn to a moody bohemian vibe for her home office bathroom as shown from the mood board above. With natural wooden accents, matte black hardware, white shiplap walls, and a sleek black clawfoot tub, a dramatic ombré tiled floor fit the vibe perfectly. Emily wanted the shape of the tile to flow from one side of the room to the other in order to open up the small space. We landed on a custom ombré design in our signature Herringbone Pattern consisting of four of our favorite moody glaze colors.
After locking down the design direction, our team will work with you to finalize a computer aided rendering based on your specific measurements. In these drawings, we'll take into consideration tile variation along with grout suggestions so you'll be able to fully visualize the design.
To learn more about our custom design process, visit our blog "7 Steps to Designing a Custom Backsplash" Digital CAD rendering of 2"x6" Herringbone - 366 Satin Black, 61 Navy, 155 Steel, Custom Color.
The Layout Process
After the tile has been order, our talented team of Tile Artisans get to work hand cutting, glazing, firing and laying out your tile design. Each step is a work of art but the layout portion of our production studio is where the magic comes together. For this custom project, we laid out each 2"x6" tile piece by piece to ensure the integrity of the ombré design was absolute perfection. Each tile is glued to a large piece of mesh on top of your specific measurements with ⅛” of space between each tile to allow for grout. Once the glue has dried and we are satisfied with the full layout, the mesh is cut into roughly 1 sq ft easy-to-install sheets.
For more on our step by step process, visit our blog "Handmade Artisan Tile Step by Step Process"
 2"x6" Herringbone - 366 Satin Black, 61 Navy, 155 Steel, Custom Color.
4. Easy to Install Sheets
After the layout is cut down into easy-to-install sheets, we number each sheet according to how the design will be installed. As shown below, the first sheet is the first to be adhered. We'll also include an installation map for your installer so they can follow along as they adhere each numbered sheet. Our shipping experts then pack the sheets efficiently and ship your mosaic right to your door! We pride ourselves on the level of detail that goes into this process to ensure that even custom designs are an easy install.
For tips on installing handmade tile, visit our blog "10 Essential Steps For a DIY Handmade Tile Install" 2"x6" Herringbone - 366 Satin Black, 61 Navy, 155 Steel, Custom Color.
The Final Results
This project turned out to be a total dream come true and proof that a custom handmade tile design can totally transform a small space. It's a testament to the power of design, leaving you in awe of the gorgeous results achieved through the artful combination of color, pattern, and skilled craftsmanship. We love the natural elements that keep this home office bathroom design down to earth in a luxuriously laid back way. So if you're interested in unique twist on a classic shape, our herringbone tile pattern with a custom ombré design is the perfect way to let your creativity shine with standard subway tile.
For more herringbone tile ideas, visit our blog "6 Herringbone Projects to Inspire"

 2"x6" Herringbone - 366 Satin Black, 61 Navy, 155 Steel, Custom Color.
Interior Design - Emily Pueringer
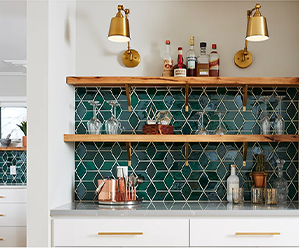
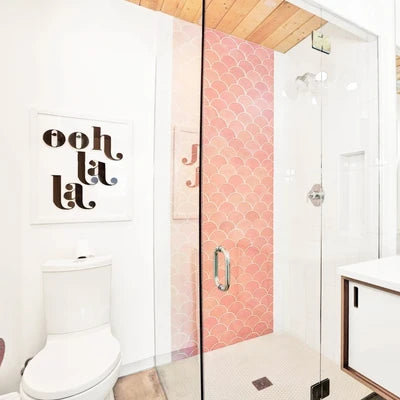
More Handmade Tile Projects From the Designer

Order tile samples to see, touch, and fall in love with our handmade tiles in person. We would also love to hear what inspires you! Tell us more about your future project and get the ball rolling.
The post Herringbone Tiled Bathroom Floor Step by Step Process appeared first on Artisan Tile Company: Handmade Ceramic Tiles by Mercury Mosaics.